Brindle blocks
Explore a mixed red and brown appearance beside the existing house.
Block paving visualiser
A block colour can look very different across an entire drive. See a paving concept on your property and compare a traditional brindle finish with a darker charcoal direction.
Upload a photo. Choose the work. See the possibility.
 Project preview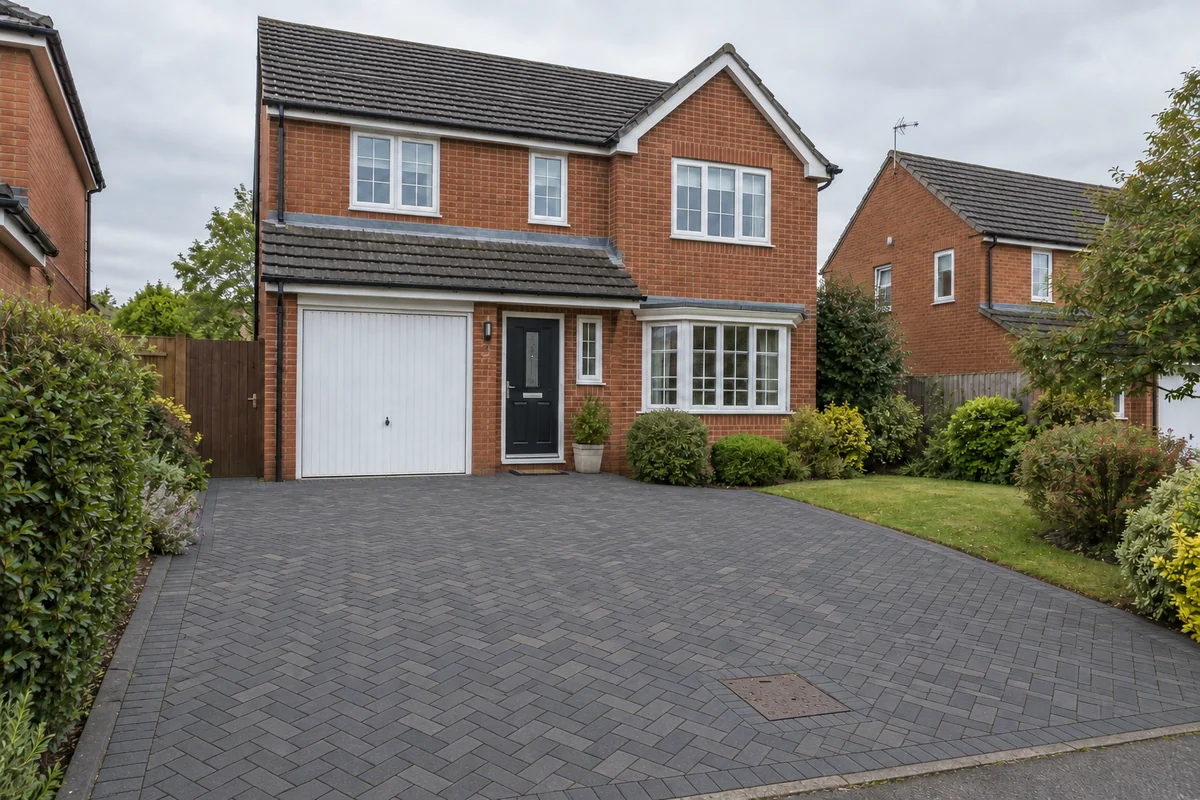
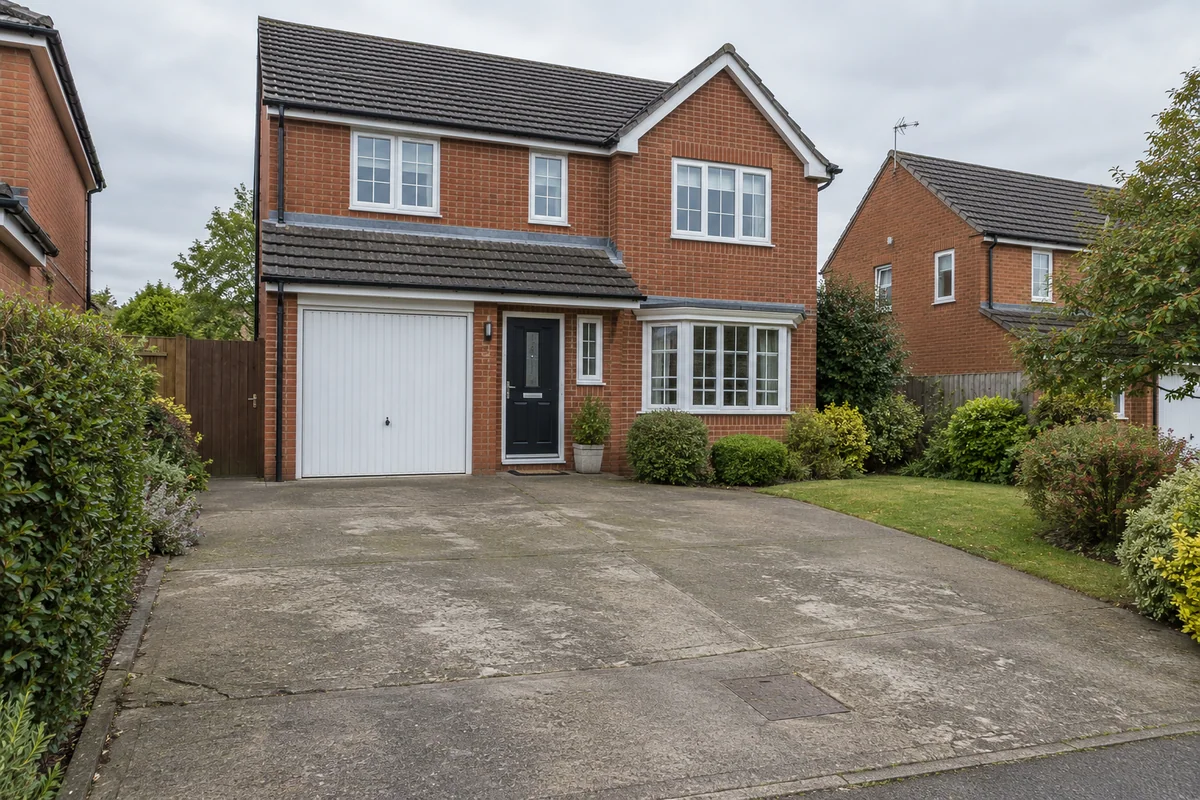 Original sceneAI concept
Drag to compare, or use the arrow keys
Illustrative AI concept, not a completed customer project.
Actual results depend on your photo and selected finish.
Your project, in context
Your driveway shape, house colour and edge detail all affect the final impression. Preevu uses the existing photograph to create a block-paving concept, giving you a way to discuss the overall colour and layout without relying on a brochure scene.
See the step-by-step processFrom your photo to a preview
Your choices
Use the image to explore the visual direction before agreeing the real work.
Explore a mixed red and brown appearance beside the existing house.
Compare a darker, more uniform paving concept.
Describe the edge treatment in the notes so the AI has a focused brief.
The preview is a visual concept. Block dimensions, laying patterns, cuts and drainage details still need to be confirmed with your installer.
Make the most of the photo
Look for the general balance of colour, pattern and border. Generated block sizes, bond details and cuts may be inconsistent. Your installer still needs to confirm the actual block dimensions, laying pattern and drainage arrangement.
Read the photo guideUse JPG, PNG or WebP within the limit shown in the tool.
The live catalogue supplies the available choices.
Check the original against the preview before using it.
Choose the change in the visualiser and create a concept to compare.
Questions, answered
Straight answers before you upload a photograph.
Keep exploring