The overall pattern
Look at how much visual movement the floor adds to the room.
Herringbone flooring visualiser
A few boards cannot show you how herringbone will feel across the whole floor. Put an oak herringbone concept into a photo of your room and look at the pattern in context.
Upload a photo. Choose the work. See the possibility.
 Project preview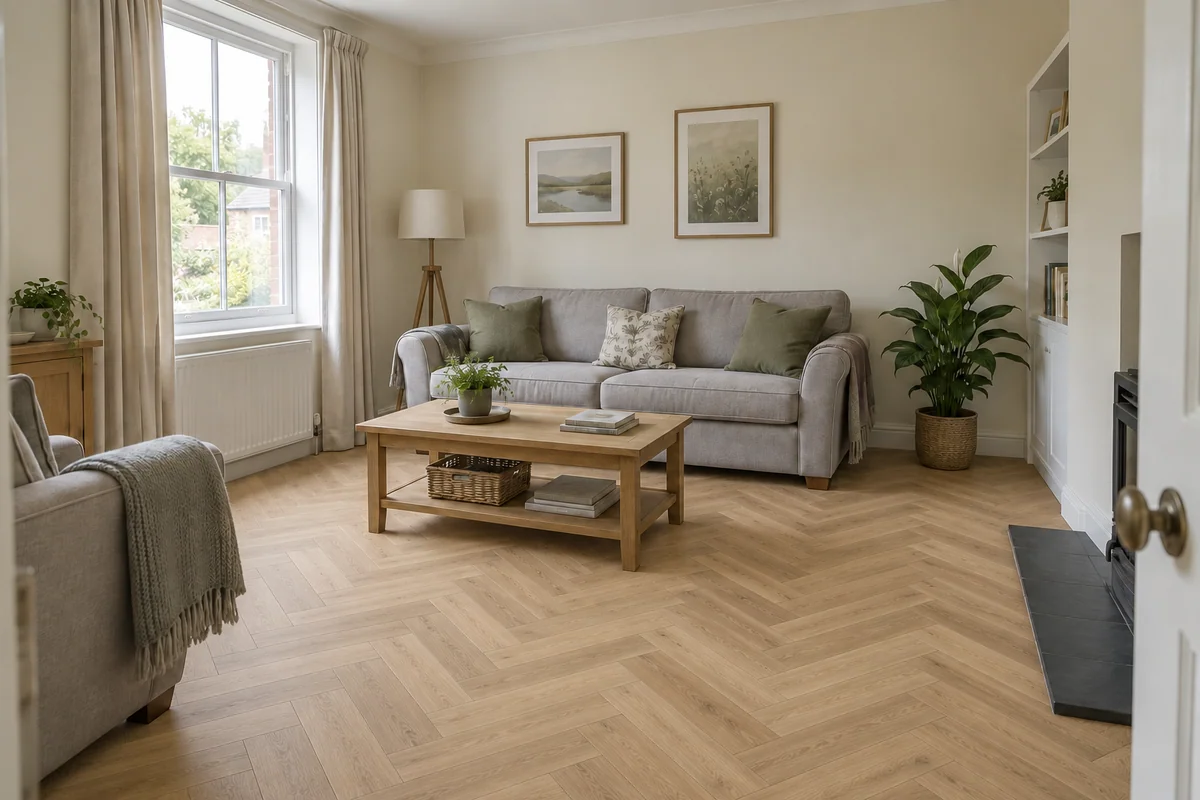
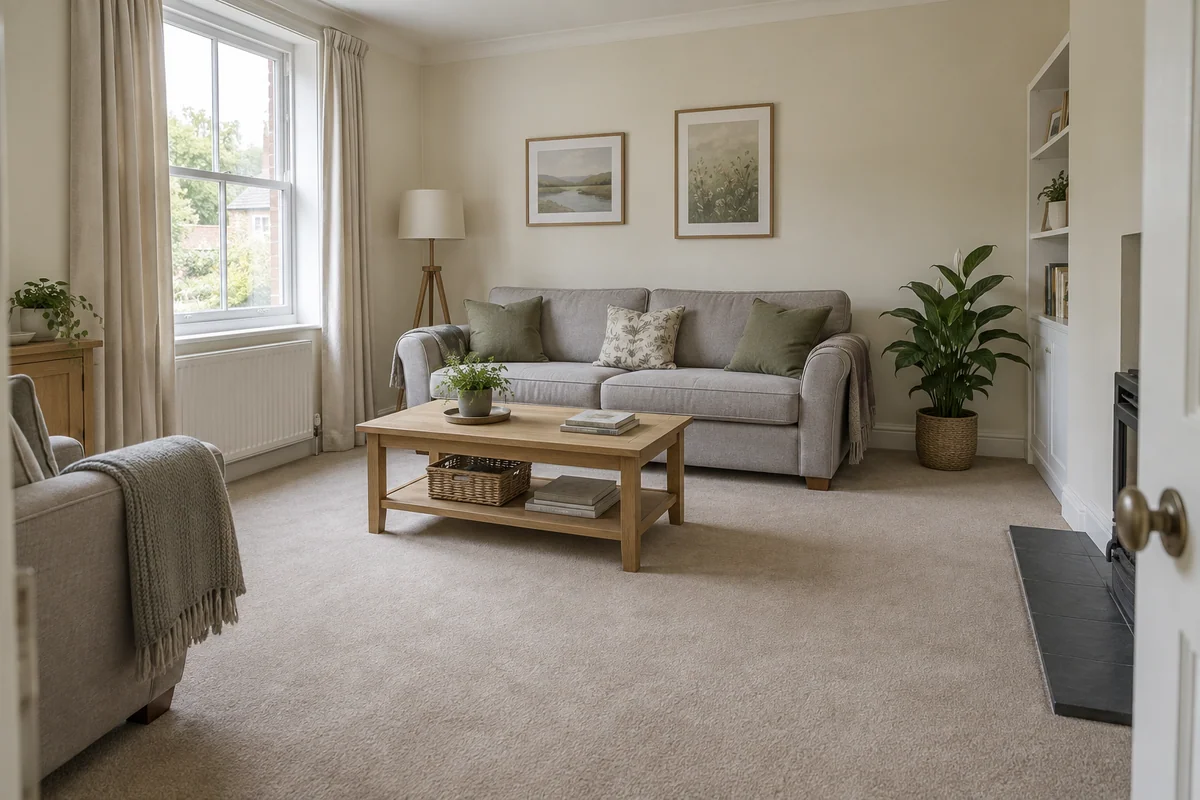 Original sceneAI concept
Drag to compare, or use the arrow keys
Illustrative AI concept, not a completed customer project.
Actual results depend on your photo and selected finish.
Your project, in context
Herringbone introduces a repeated pattern into the room. Preevu helps you judge that visual effect against the furniture, light and wall colours you already have. Use the preview to decide whether the direction appeals before choosing a particular product.
See the step-by-step processFrom your photo to a preview
Your choices
Use the image to explore the visual direction before agreeing the real work.
Look at how much visual movement the floor adds to the room.
Consider the warmth of the floor next to the furniture and trim.
Try a straight-plank finish separately if you are deciding between the two.
The catalogue option is an oak herringbone LVT appearance. It does not certify a particular product, installation method or quantity.
Make the most of the photo
The AI may interpret board size, alignment or the pattern near obstacles. A fitter still needs to establish the starting line, orientation and cuts for the real floor. The image should help with the design discussion, not dictate individual board positions.
Read the photo guideUse JPG, PNG or WebP within the limit shown in the tool.
The live catalogue supplies the available choices.
Check the original against the preview before using it.
Choose the change in the visualiser and create a concept to compare.
Questions, answered
Straight answers before you upload a photograph.
Keep exploring